A Project Template is like a ready-made setup that helps you start new projects faster. It includes everything you usually add to a project — like sections, tasks, team members, and due dates. Instead of creating the same project from scratch every time, you can just use a template and get started quickly.
It’s super useful for repeating workflows, such as onboarding new employees, running events, or managing regular tasks. Templates help save time and make sure every project stays organized and consistent.
Creating a template
Go to Admin Panel.
Click on Templates.
Click on Add new template.
Add details and save changes.
Creating a project using a template
Go to Admin Panel.
Click on Templates.
Click the three dots (⋯) next to your chosen template and select Use Template.
A right pane will appear, allowing you to customize project details before creating the new project from the template.
Add details and submit.
You can also do this by going to the template and then clicking on the Use template button
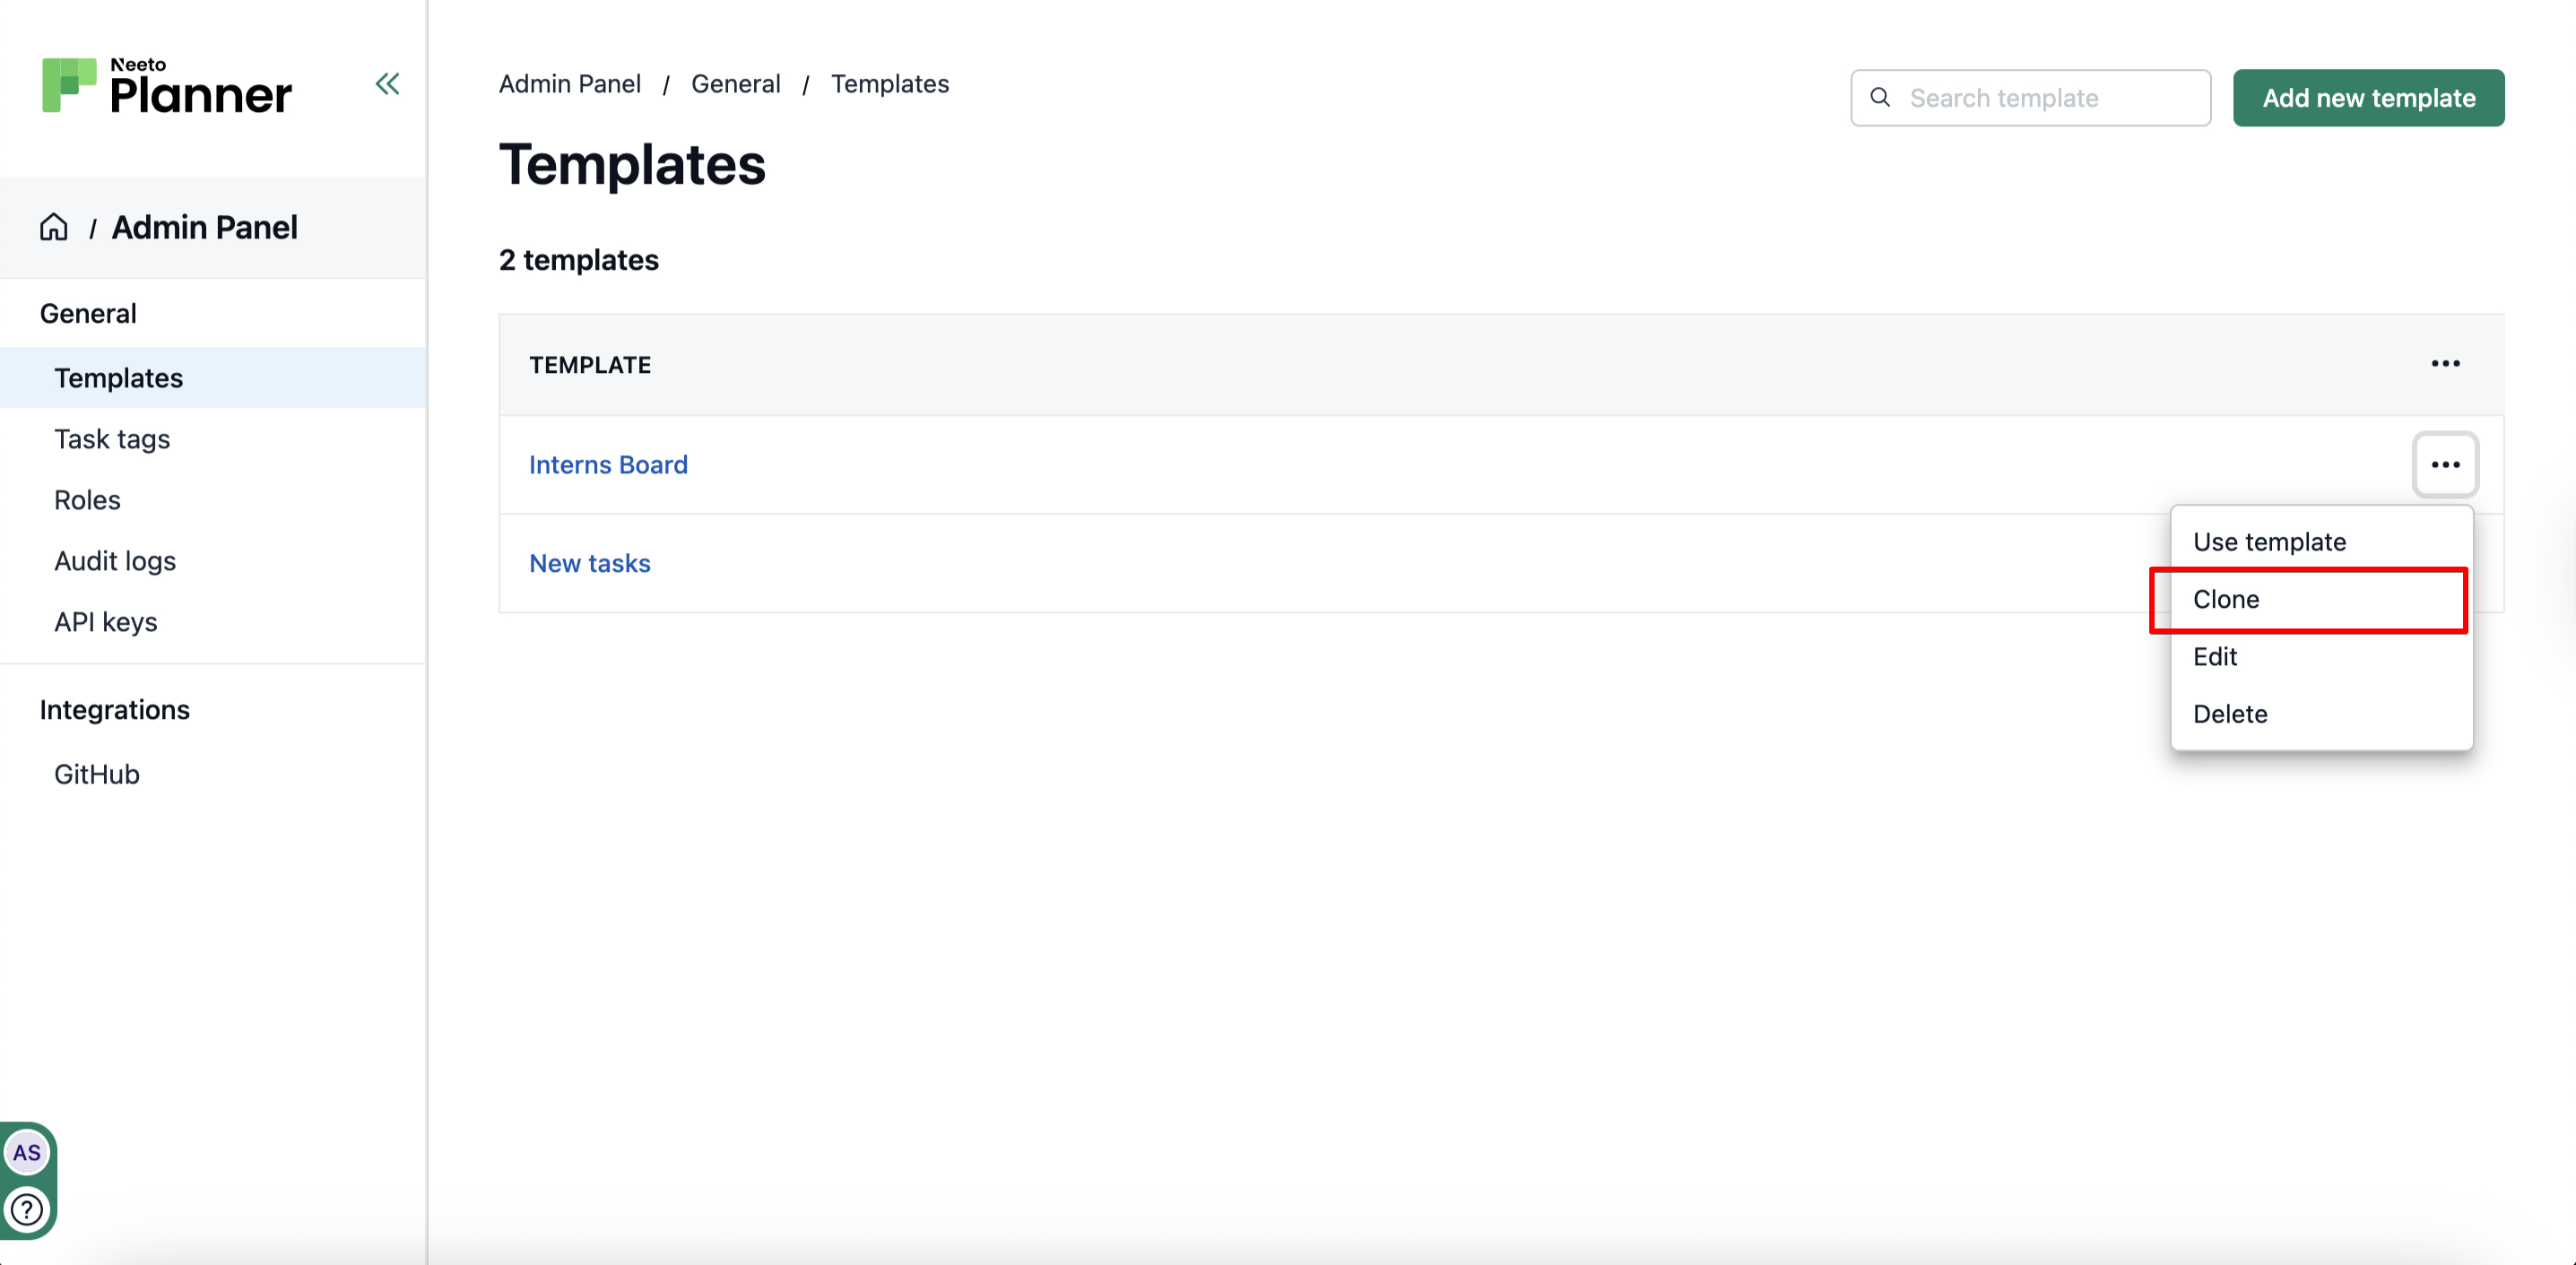
Cloning a template
If you want to use an existing template as a starting point to create a new one, you can use the Clone feature.
Go to Admin Panel.
Click on Templates.
Click the three dots (⋯) next to your chosen template and select Clone.